
PC Assembly - Part V - Installing Windows
Now that your system boots properly, you can install Windows. If you're building a Hackintosh, note that all hardware drivers for the motherboard are in windows .exe format, not Mac .sit or .dmg format. The drivers are typically for audio, networking, drives, and so on; which are neither needed or used by macOS. The primary reason for a Hackintosh user to install Windows is to update the board's BIOS/UEFI if needed. These updates make improvements to the motherboard and patch minor issues. The BIOS and driver releases cease after so many years as manufacturer's release newer motherboards. Having a separate drive for Windows allows you to have an alternate operating system to do research and troubleshoot if things go wrong, but also enables you to make another installer flash drive if yours gets lost or damaged somehow.
This step-by-step section is broken into two parts: Pre-Install and Post-install.
This step-by-step section is broken into two parts: Pre-Install and Post-install.
Windows Pre-Install

Take the flash drive you installed Windows to at the beginning of Chapter 5. Here's an older one I made and labeled it "WINSTALLER" (WINdows INSTALLER).
Adding such labels saves time and help quickly identify the drive, especially if you have other installers for other operating systems or versions.
Adding such labels saves time and help quickly identify the drive, especially if you have other installers for other operating systems or versions.

Connect the Windows installer flash drive to an available USB port on your new PC. Here I have it connected to a USB extension cable. This is because I have my PC planted underneath my digital piano. The extension cable provides easier access for one of the USB ports:
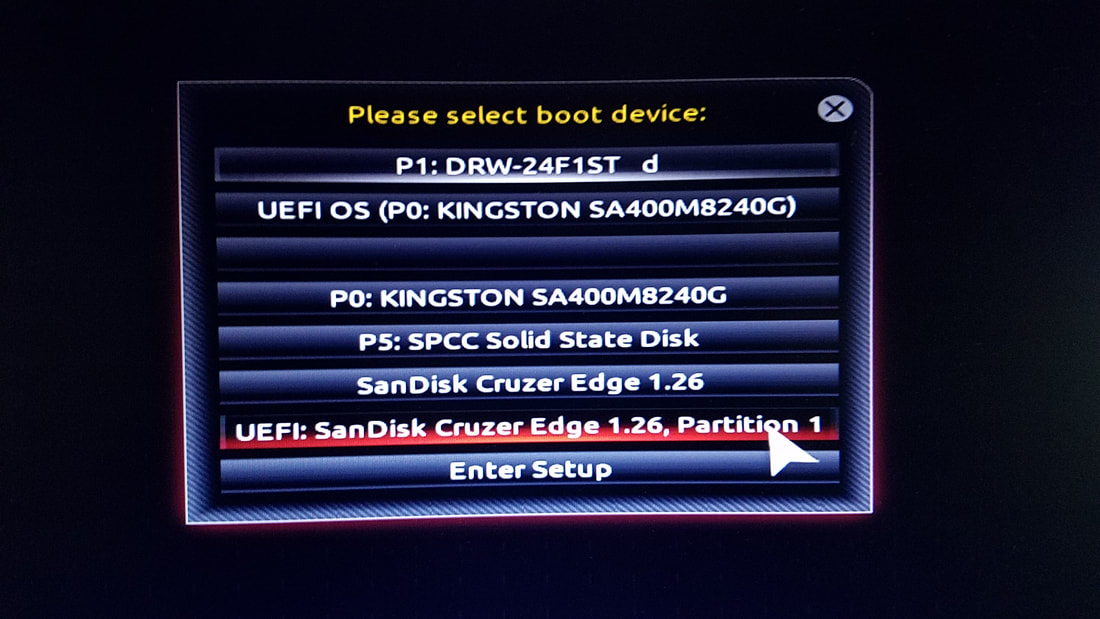
Power on your computer and hold down the key needed to access the list of drives. Here I am selecting the UEFI partition of the SanDisk Cruzer Edge.
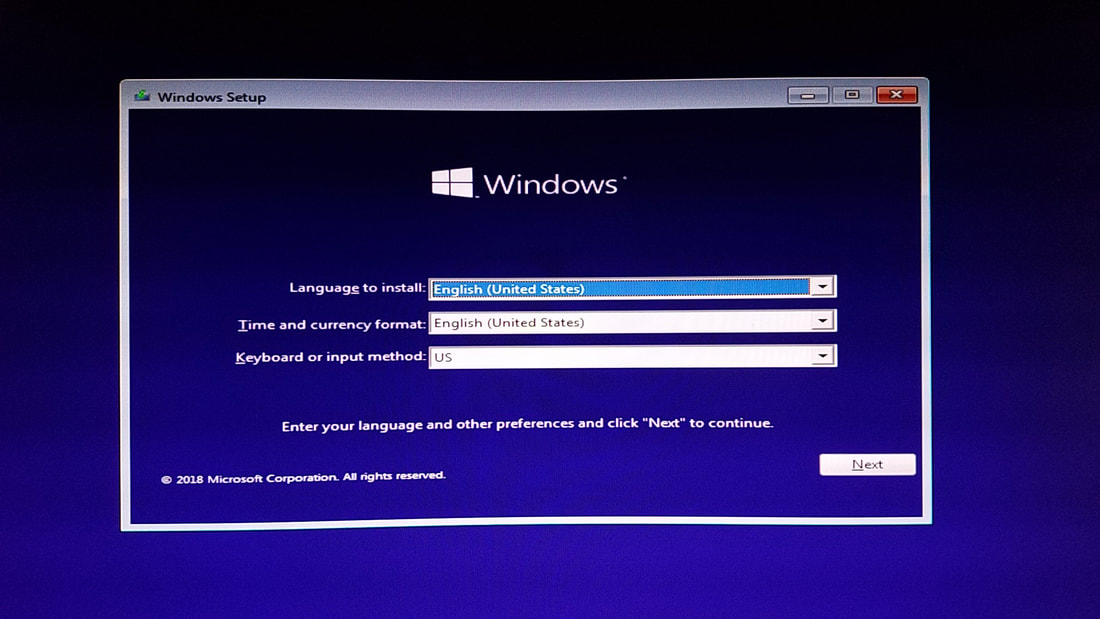
After it loads you'll see a prompt to install Windows. If your options for language, date/time format and keyboard method differ than the one shown in the example below, change those accordingly then click on Next:
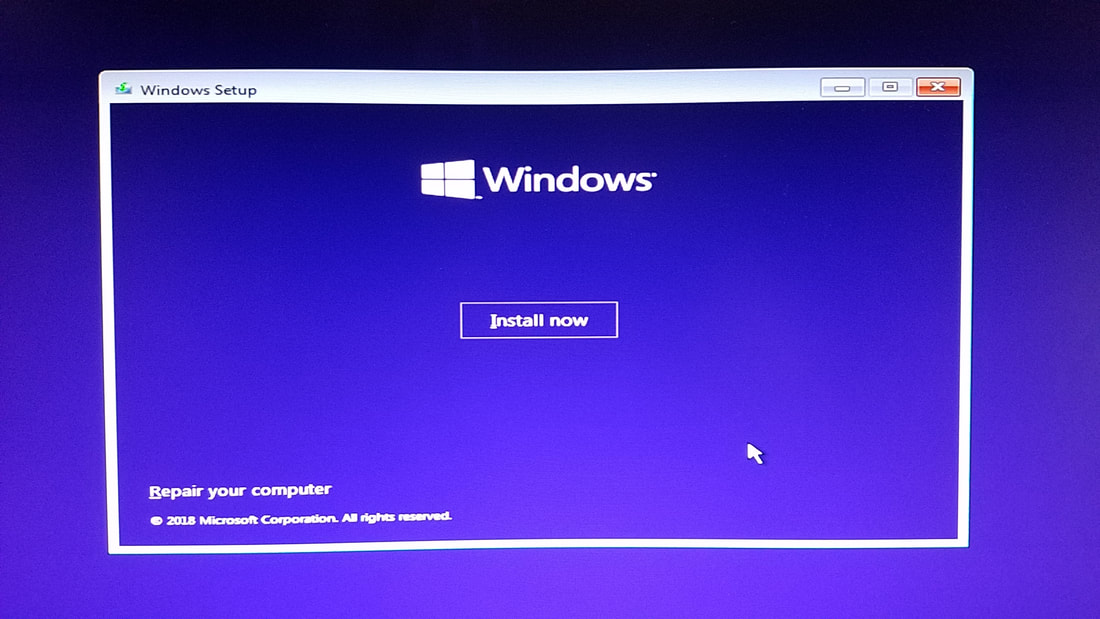
Click on "Install now" to move on:
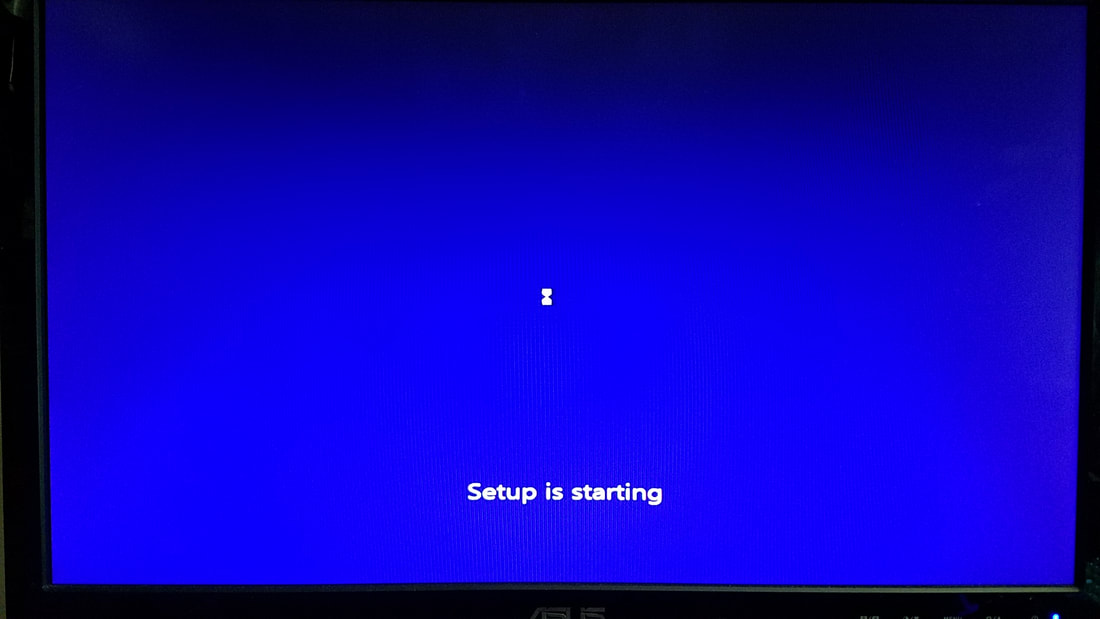
You will see the following for a few seconds:
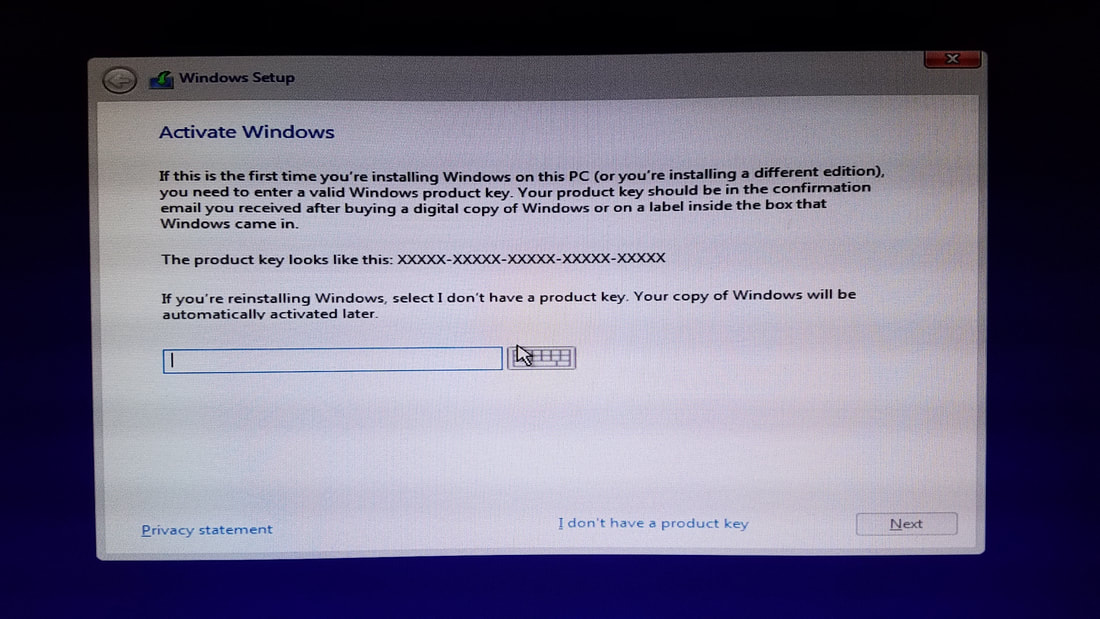
If you bought a Windows 8 or 8.1 license earlier, you may be able to transfer it from your old PC to this one. If you have an older store-bought computer that already came with Windows, you will not be able to transfer it. That doesn't leave you in the dark though, but instead you'll have limited customization options.
If you have a license key you can type it in to the empty field in the middle then click on Next. Otherwise click on "I don't have a product key" and click on Next:
If you have a license key you can type it in to the empty field in the middle then click on Next. Otherwise click on "I don't have a product key" and click on Next:
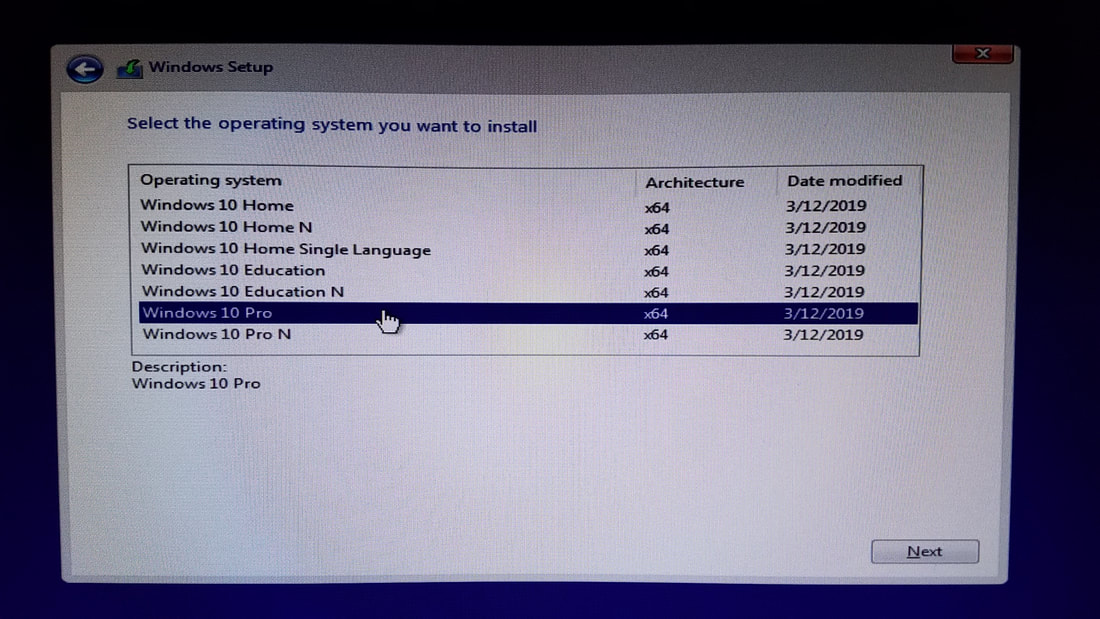
If you're transferring a license from an earlier version, choose the same version in the list you'll see on your screen. Otherwise I recommend simple choosing Windows 10 Pro (selected). When you are finished, click Next:
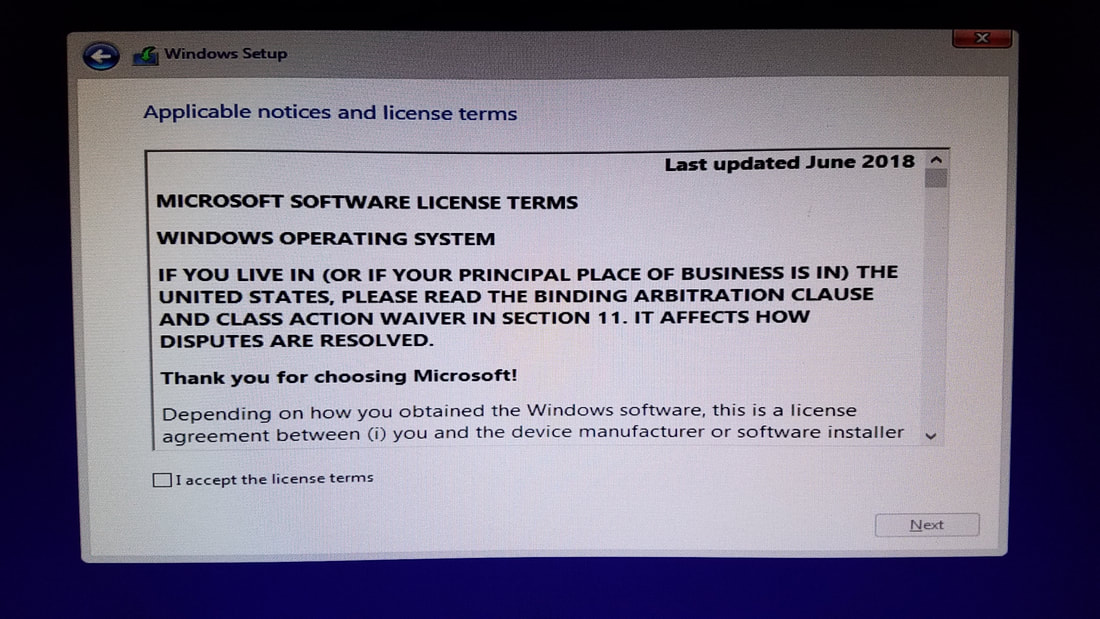
At the license agreement page, click "I accept the license terms" then click Next:
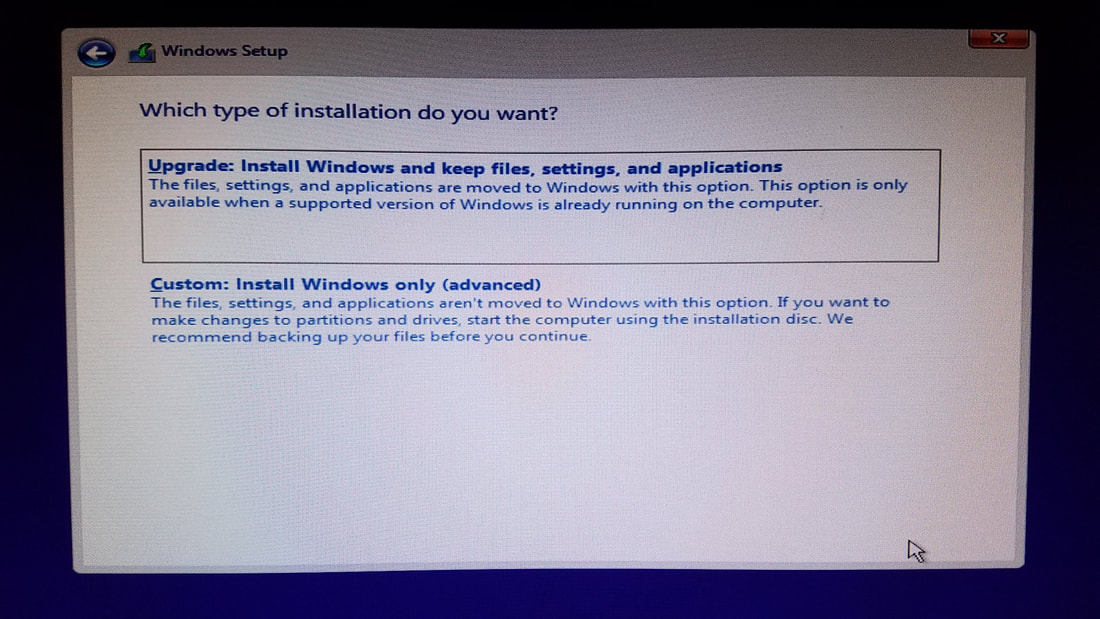
Because this is a new build there is no existing version of Windows. Therefore you'll need to click on the bottom selection; "Custom: Install Windows only (advanced)":
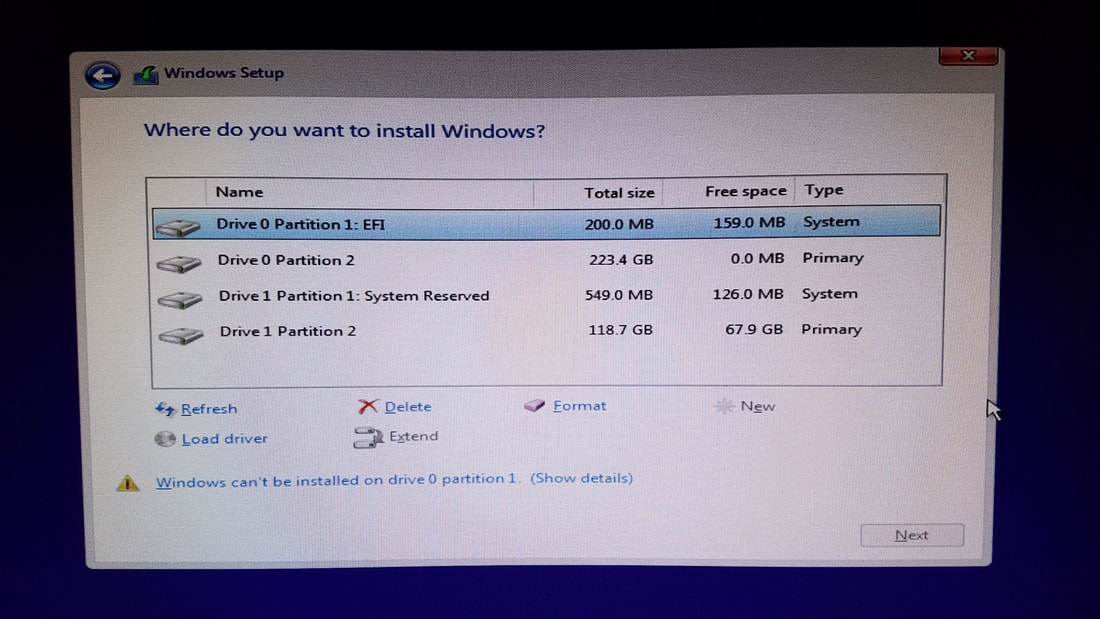
I performed a fresh installation on my existing Intel-based system which has a 240 GB m.2 drive (Drive 0 shown as the first two entries in the list), and a 120 GB SSD list (Drive 1 as the last two entries in the list).
The screenshot shows a warning notification advising that Windows can't be installed on that drive. This appeared automatically as it was selected when the screen appeared. If you're attempting to install Windows on a drive that has existing data, you may get the same message when you select that drive:
The screenshot shows a warning notification advising that Windows can't be installed on that drive. This appeared automatically as it was selected when the screen appeared. If you're attempting to install Windows on a drive that has existing data, you may get the same message when you select that drive:
To prepare a drive for windows installation, first delete the partitions of the drive one at a time. In the above example I was working only with Drive 1, so I selected Drive 1 Partition 2, then clicked on Delete, then selected Drive 1 Partition 1: System Reserved, and clicked delete.
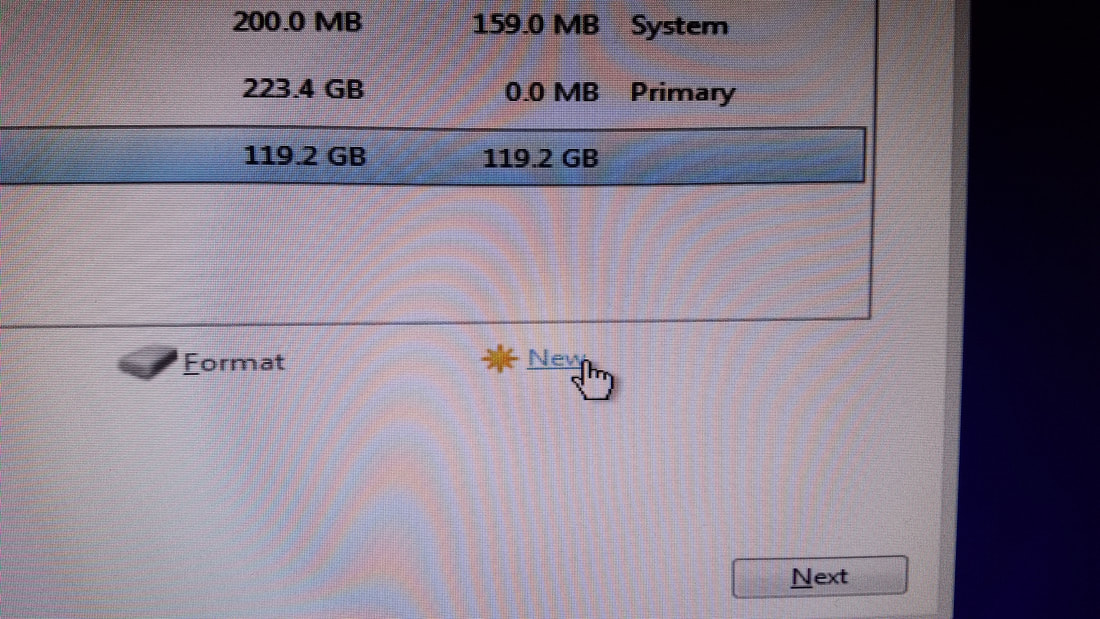
Once you've completed this, select the same drive you've deleted the partitions from and click on New:
Once you've completed this, select the same drive you've deleted the partitions from and click on New:

It will automatically detect the amount of available drive space and auto-populate the capacity. Leave this as-is, and click "Apply":
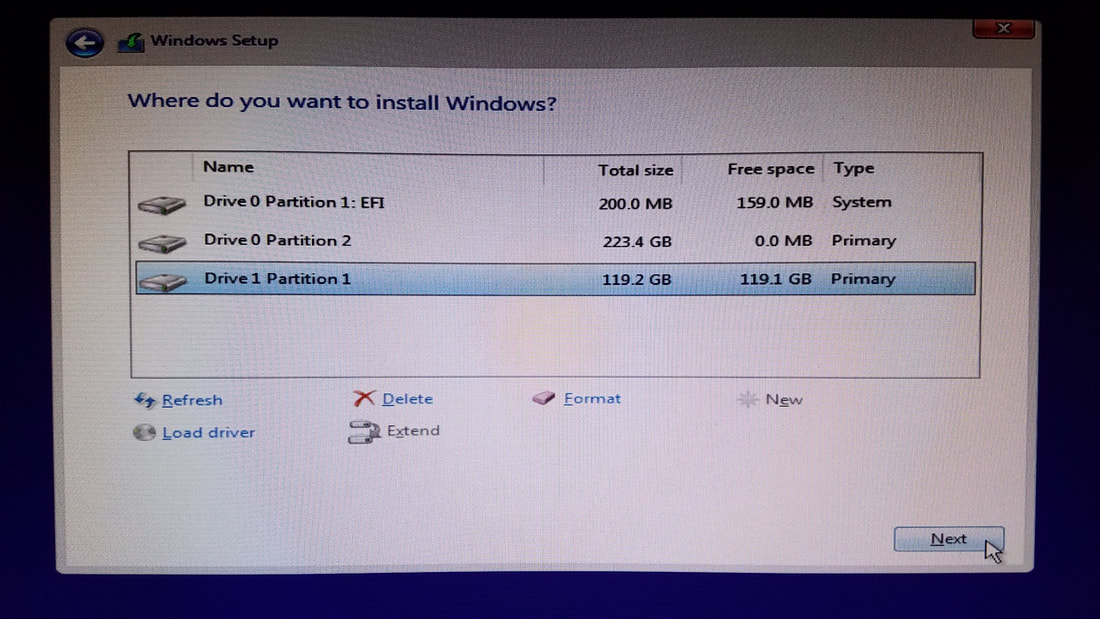
We're almost there! Click on Format to format the drive for Windows which will add additional partitions to the drive. That process should only take a few seconds. When it has finished click on Next:
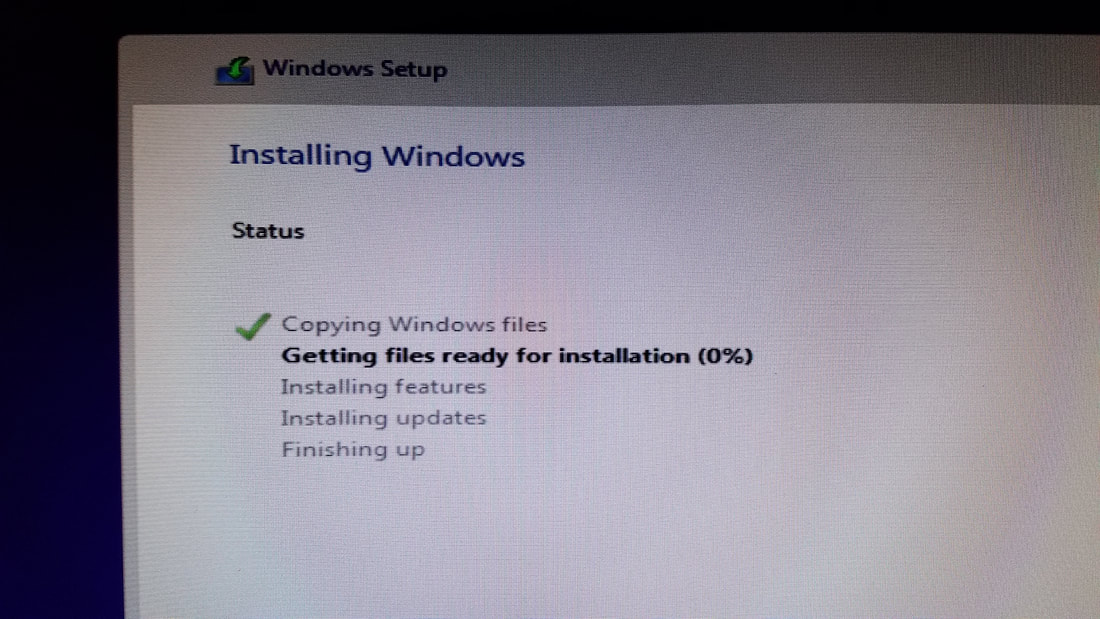
Windows will now be installed to your drive. The length of time for this depends on the port speed, the flash drive used, and the destination hard drive (HDD vs SSD).
Note that one of the listed entries shows "Installing Updates". This is a bit of a misnomer as you will still get notifications for updates at some point after reaching the desktop later on.
Note that one of the listed entries shows "Installing Updates". This is a bit of a misnomer as you will still get notifications for updates at some point after reaching the desktop later on.
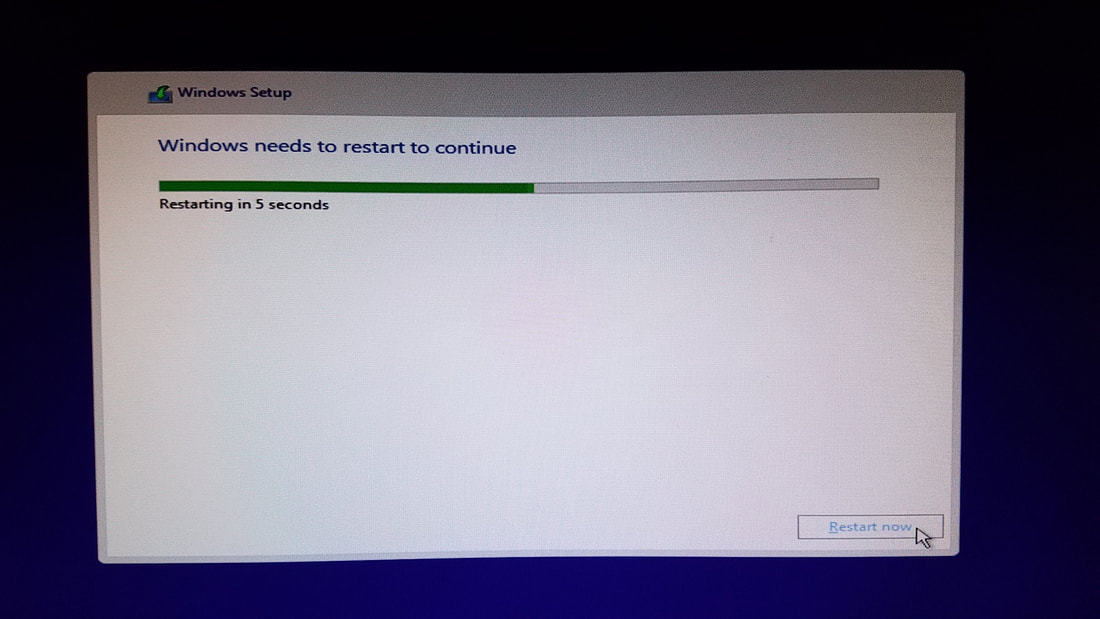
When all of the steps have been completed your computer will countdown to an automatic restart, which you can speed up by clicking "Restart now". When the screen is black from the computer having restarted, remove the flash drive.
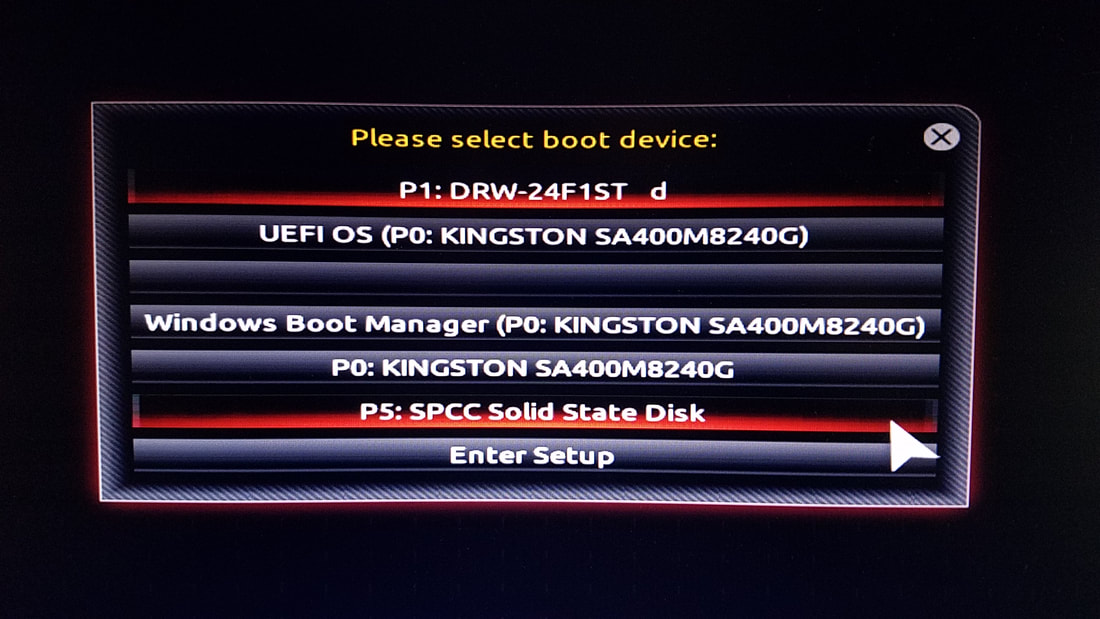
If you have multiple drives installed, hold down the drive selection key as you did when booting from the flash drive and select the HDD/SSD you installed Windows to (right). With my machine, Windows Boot Manager somehow got installed to my Kingston m2 drive (4th entry on the list), so I had to select that to finish the Windows installation.
If you have no additional drives it should boot up to the freshly installed Windows drive.
If you have no additional drives it should boot up to the freshly installed Windows drive.
Windows Post-Install
Now that the primary installation has taken place, Windows will request language, password setting, and other parameters to tailor it's options for you.
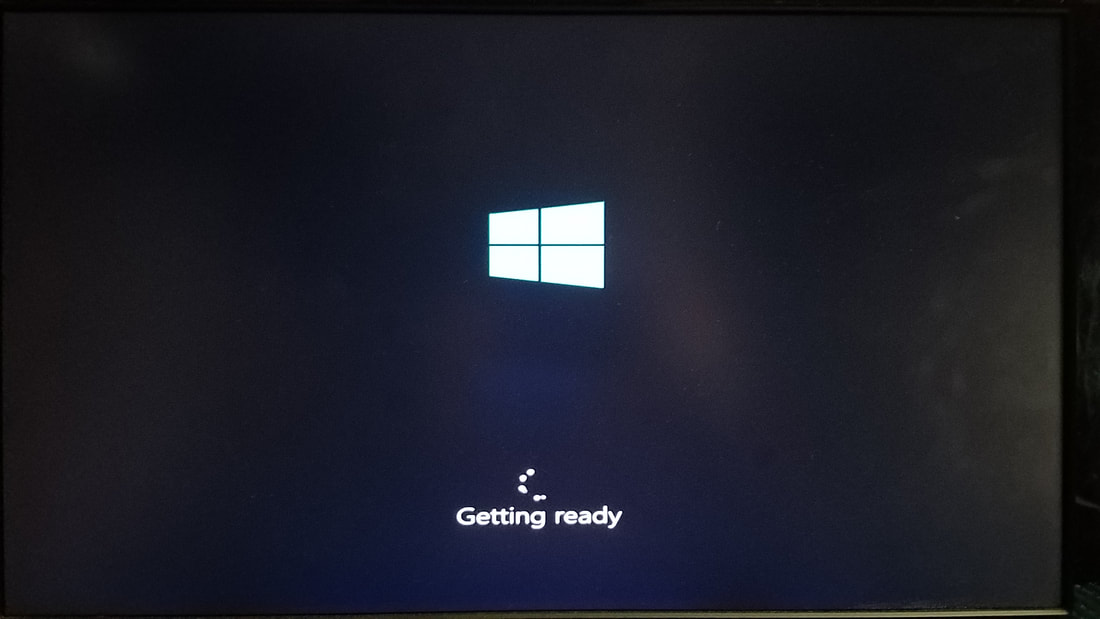
You should see this screen for a minutes or two, then it will prompt you for other options.
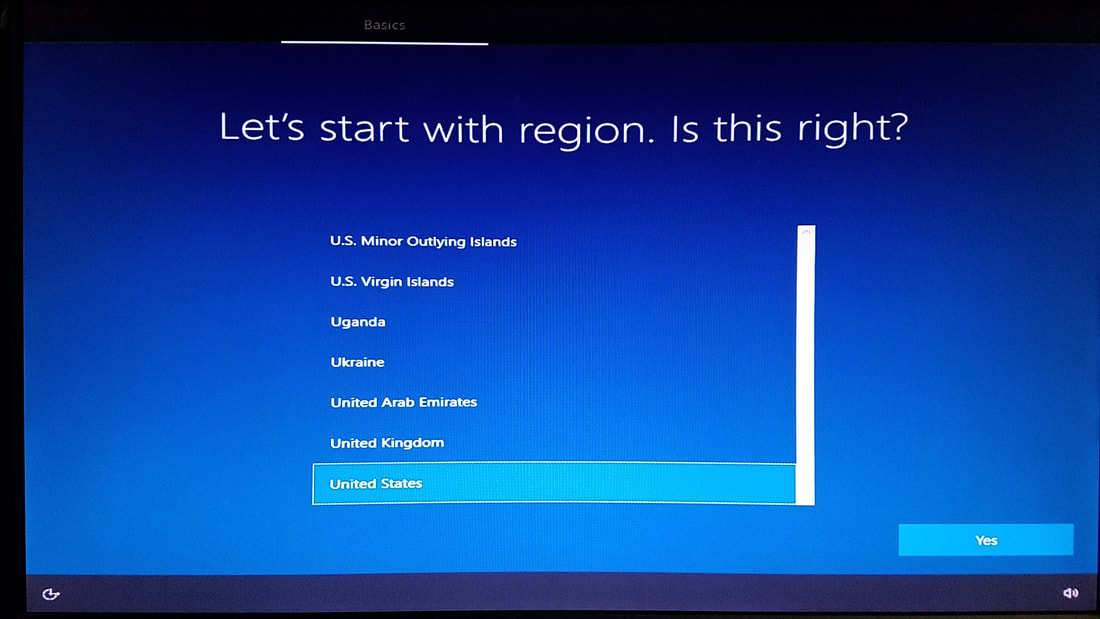
Your first few prompts will be for keyboard and language options:
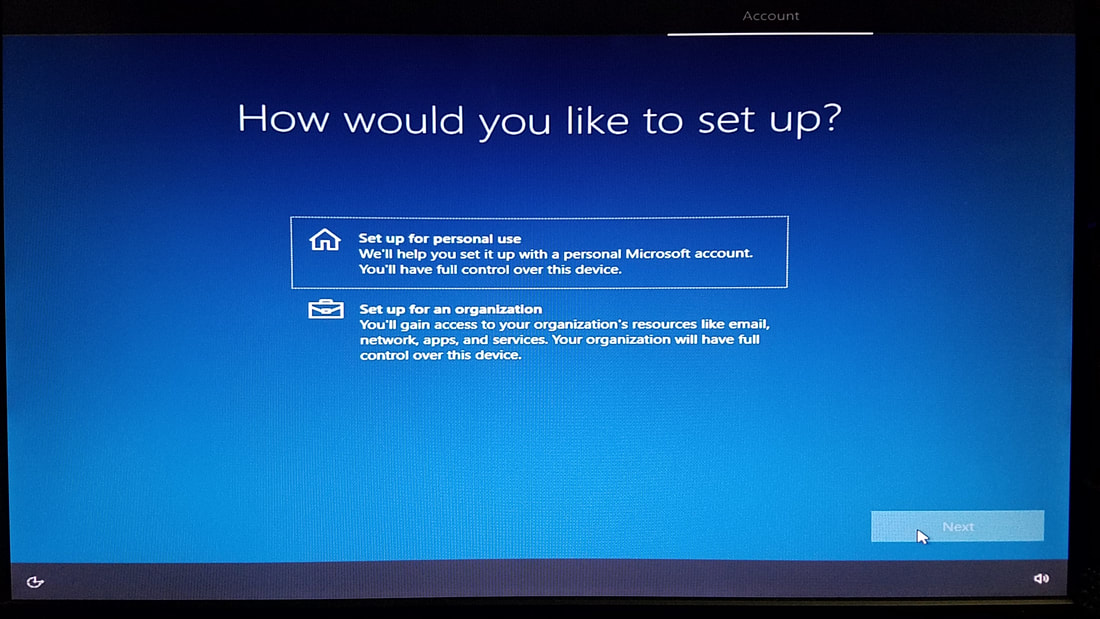
It's generally assumed that this computer will be used for the home, so click on "Set up for personal use":
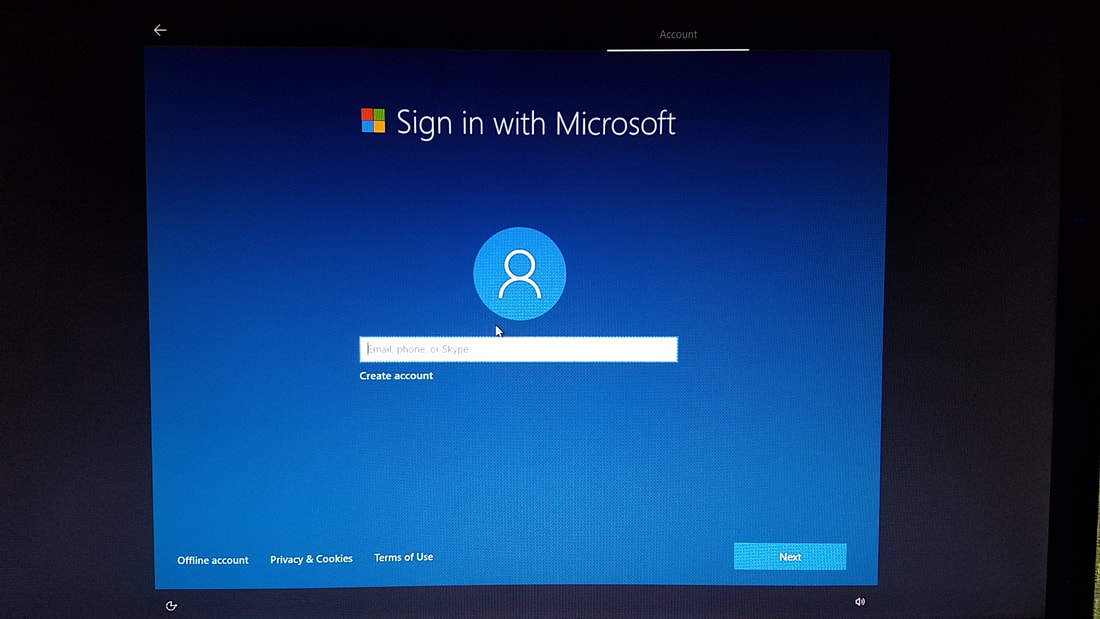
If you have an existing Microsoft account, enter your email address in the field to register another computer system to your arsenal. You can also create an account which will prompt authentication from an email or mobile device.
Otherwise you can click on "Offline account" in the lower left and begin the steps to set up an offline account:
Otherwise you can click on "Offline account" in the lower left and begin the steps to set up an offline account:
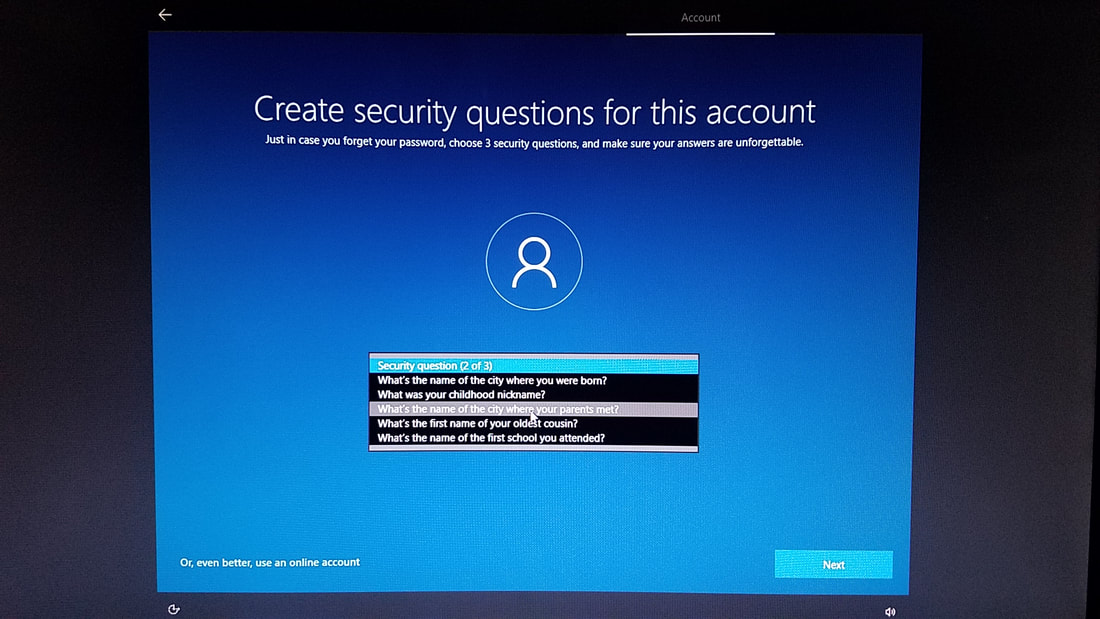
Here I was beginning the creation of an offline account where I was prompted to answer three security questions selected from a drop-down list:
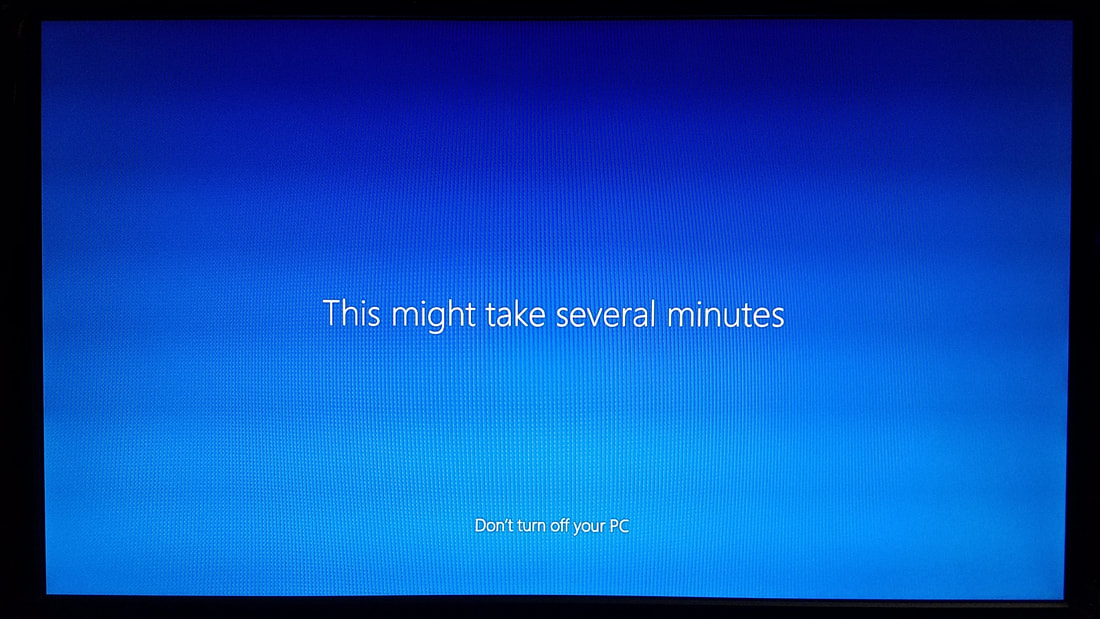
This is the last screen that appears in the installation process and doesn't seem to take very long at all:
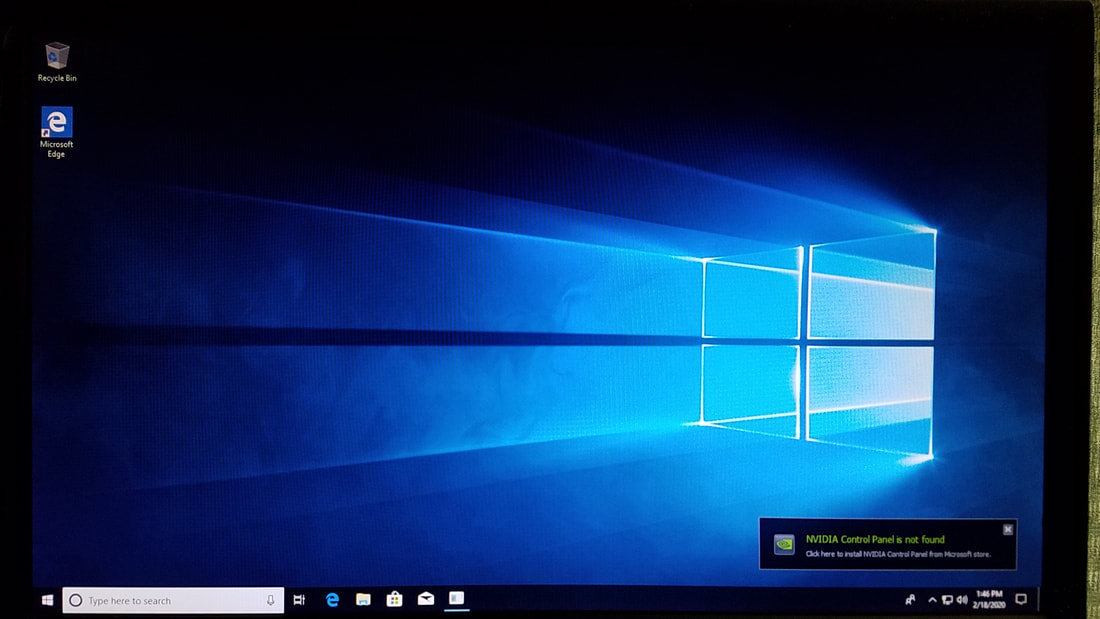
When the installation is complete you will arrive at the desktop!
Now that you've finished with the installation, there are a few more steps to follow:
1. Drivers - If you're going to use Windows exclusively and not macOS, go to the motherboard manufacturer's website and download any applicable drivers:
1. Drivers - If you're going to use Windows exclusively and not macOS, go to the motherboard manufacturer's website and download any applicable drivers:
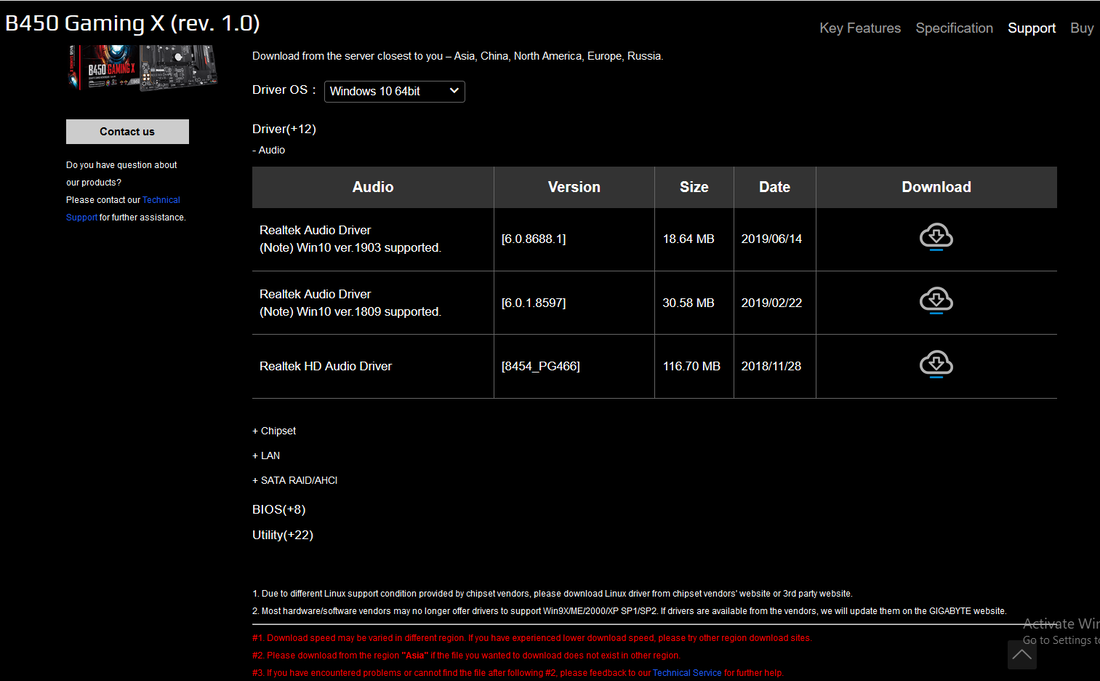
The above screenshot shows the Support section for my Gigabyte B450 Gaming X motherboard. I'm using Windows 10, so I selected Windows 10 from the Driver OS list at the top, which then presented me for drivers for my board that work with Windows 10. This resulted in files for the audio (section shown above), chipset, LAN (networking), SATA drives, the BIOS, and various utilities. Utilities may add little gadgets and ease of use to Windows, but sometimes these just take up space and don't have a lot of purpose. If your system has a video card visit the manufacturer's website of your video card and download the latest driver for it.
If you're using an older board or laptop but do not see drivers for specific hardware, note that Windows 10 includes updates to older hardware. So if you don't see a webcam driver built in to your laptop, there's no need to fret as it should already work in Windows 10 without drivers.
2. Performance - Turning off some of the eye candy in Windows can show a noticeable improvement from the get-go. To change this click on the search bar at the bottom left and type in "Control Panel" (it may appear before you type out both words). Select System --> Advanced System Settings --> Advanced Tab --> Settings --> Adjust for best performance:
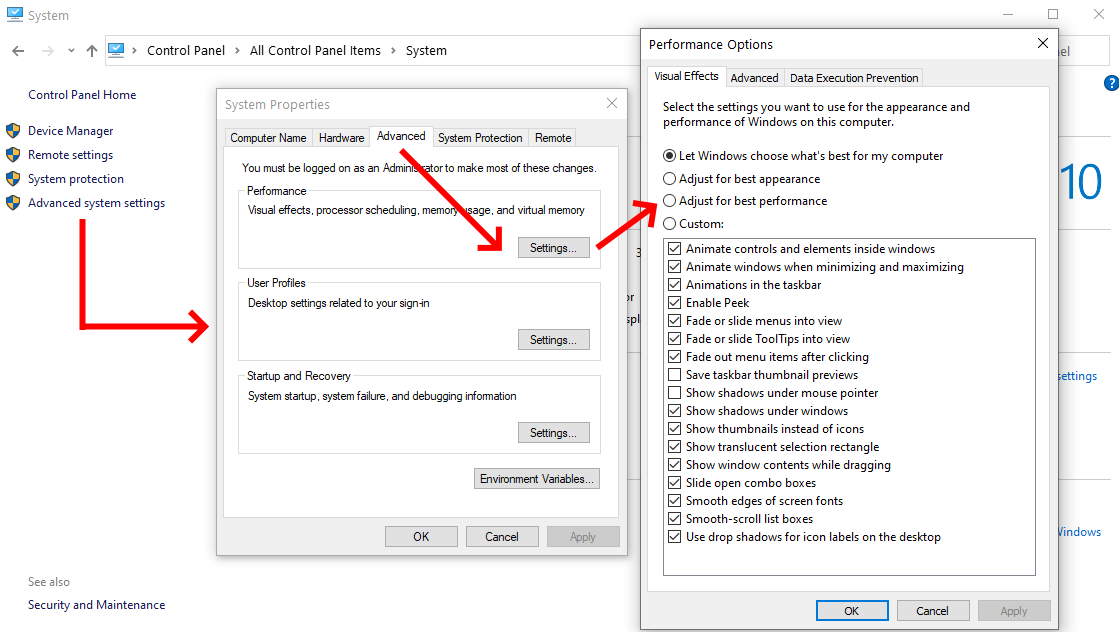
This will turn off EVERYTHING but can then be custom-tailored. I suggest checking off the boxes to add drop-shadows, smooth edges of screen fonts, show thumbnails instead of icons, and show shadows under windows. If you're using a video card, you can turn on more eye-candy and shouldn't notice any lag or decrease in performance. As a general rule of thumb, it's good to adjust the setting to "Adjust for best performance" after a few years of usage as general computer performance does tend to slow down in time.
3. Software - Windows provides basic software needed to get started including the Mail app and Microsoft Edge, but you can download you preferred software with Thunderbird (Mail), LibreOffice (MS Office freeware alternative), Chrome and/or Outlook (browsers) and more.
3. Software - Windows provides basic software needed to get started including the Mail app and Microsoft Edge, but you can download you preferred software with Thunderbird (Mail), LibreOffice (MS Office freeware alternative), Chrome and/or Outlook (browsers) and more.
