Chapter 5 - PC Assembly - Part III
Drives and Remaining Wiring
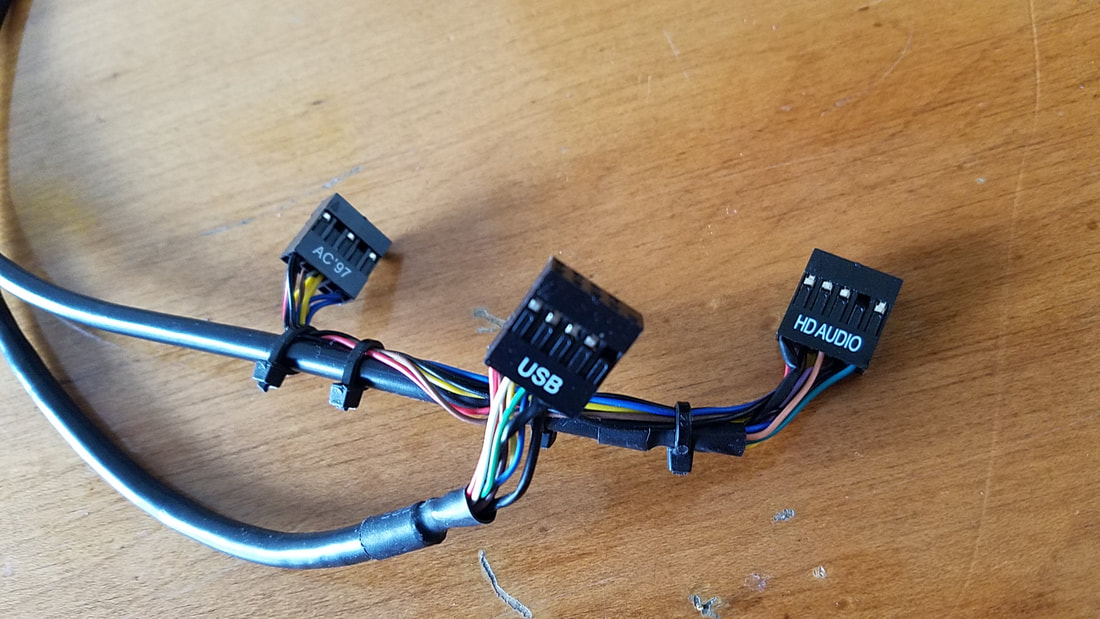
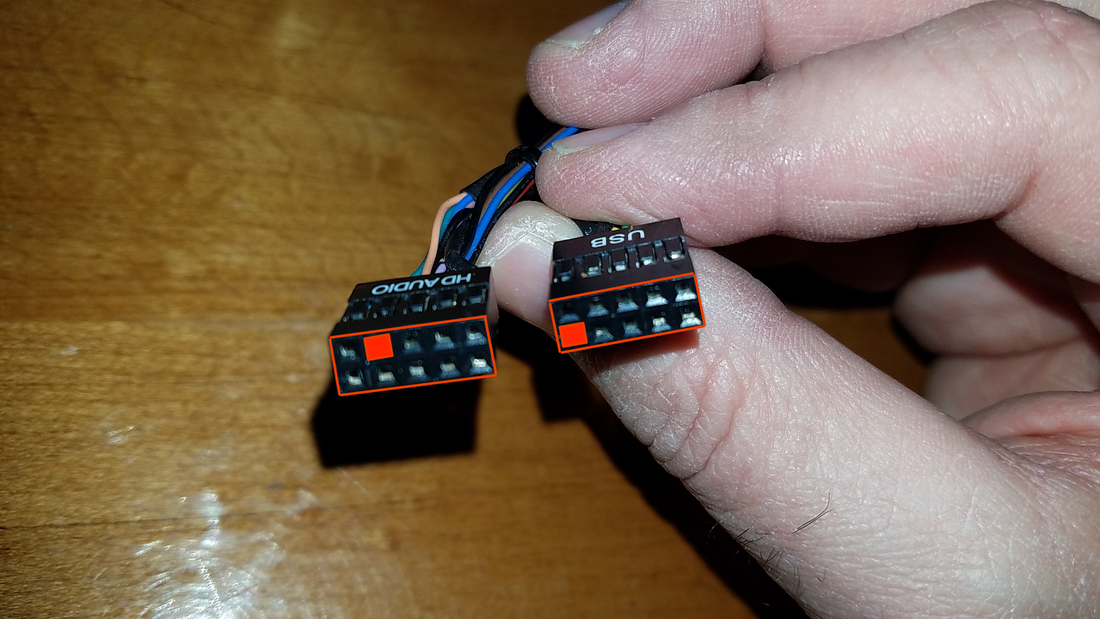
This part will cover the procedures for connecting one or more drives, and connecting the remainder of the front panel cables to the motherboard.
Drives
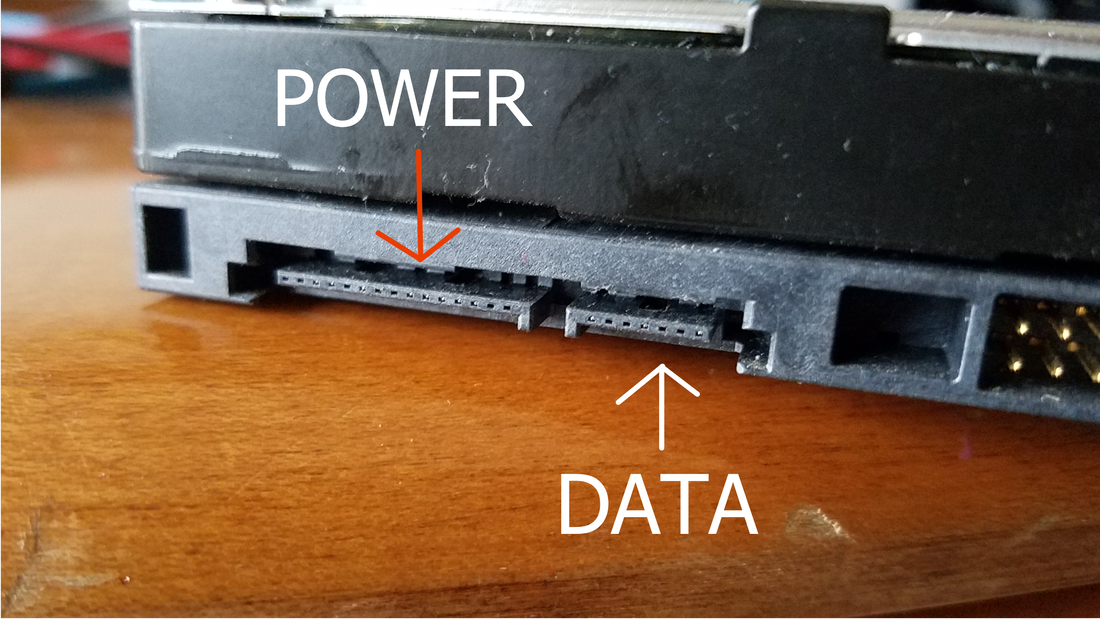
The next process involves planning out and installing the drives. The connections are simple, but the planning is a bit complex. You mount the drive in the case, attach the SATA power cable and the SATA data cable, and that's it. But these steps include the length of each cable, where the connectors are on the power supply for the drive, and limitations of the case regarding the quantity of drives and how many can be installed.
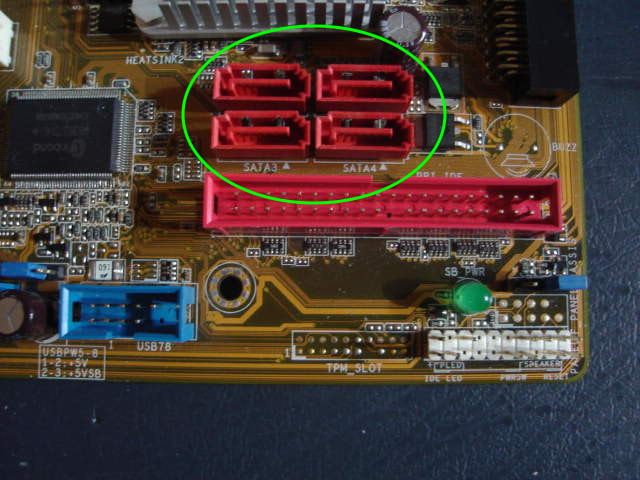
Don't forget about the limitations of the motherboard in regards to the number of SATA ports. The number of drives that can be connected depend partially on the chipset, but what most determines the quantity are the number of SATA ports on the motherboard. On my Intel-based board there are six SATA ports on the motherboard:
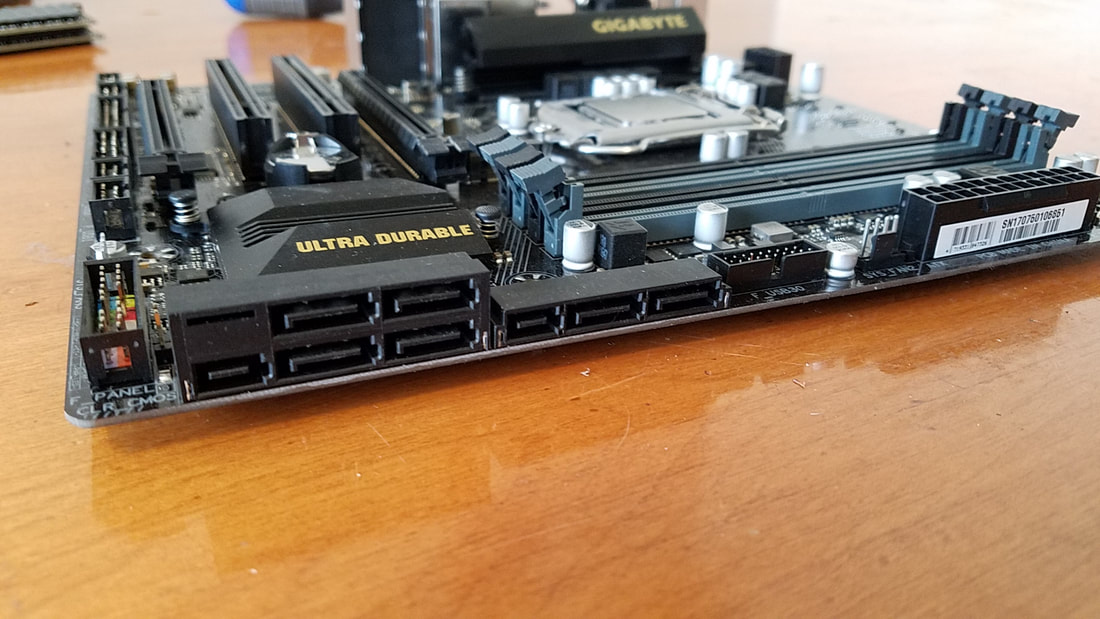
The ports have a numerical identification located on the board itself and not on the ports themselves. The identification isn't shown on the boards in this photo, so I highlighted the numerical ID:
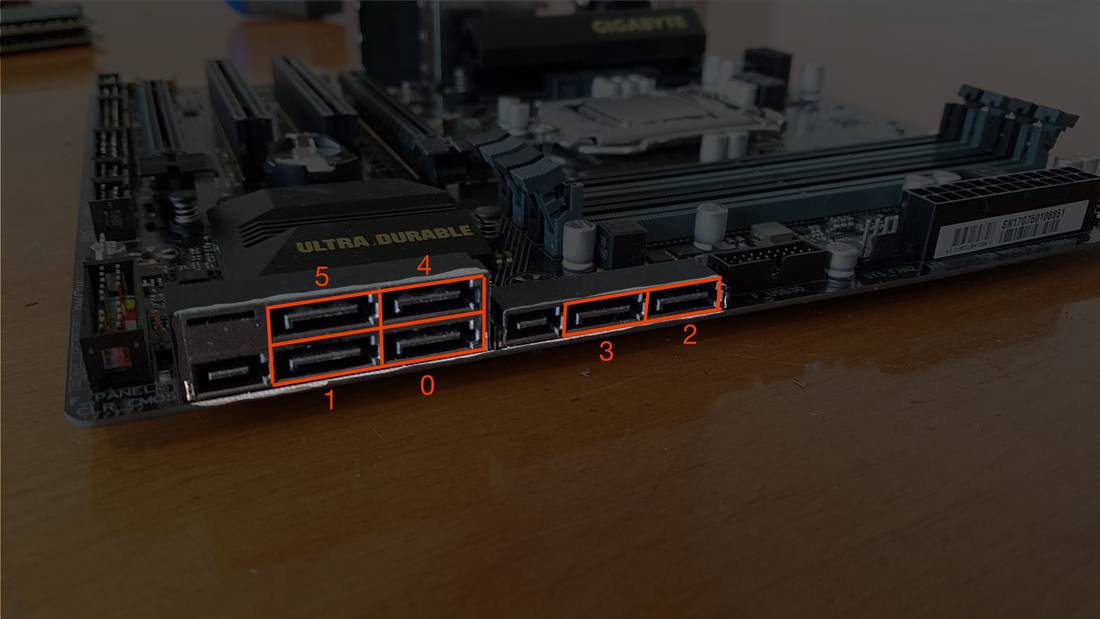
Check your motherboard owner's manual for identification and port speeds, as this may differ from board to board.
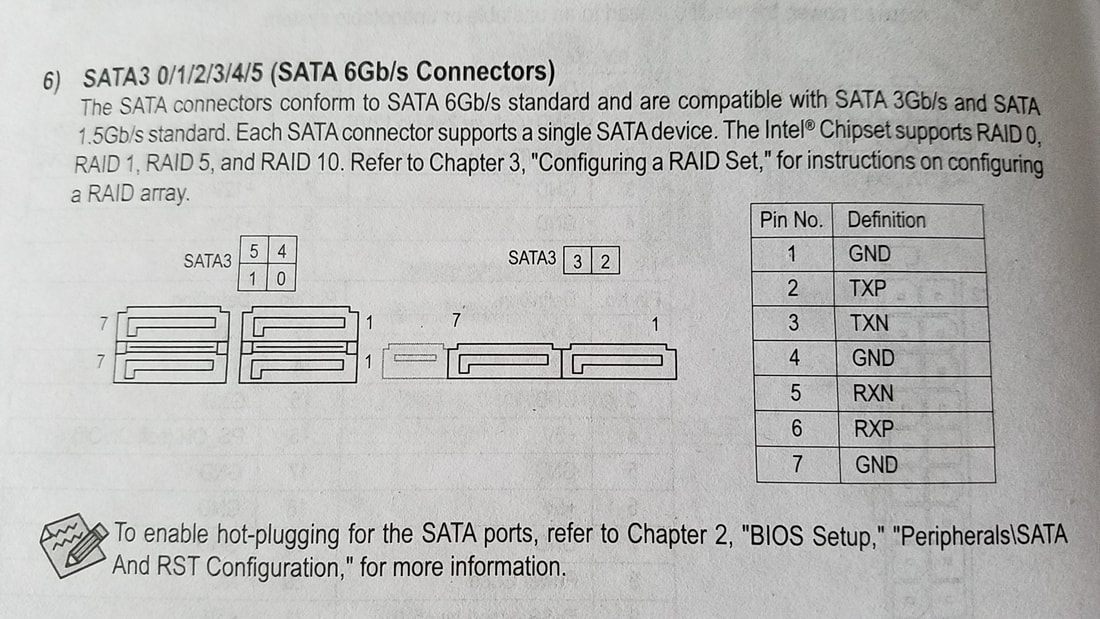
The manual here is for my Intel-based board which has an m.2 slot. The manual further states that if the m.2 slot has a card attached that SATA port 3 is disabled.
An older board I had used a different chipset where ports 0 and 1 were higher-rated SATA ports that transferred data at 6 gb per second, while the other four ports transferred data at 3 gb per second. If your board has ports of varying speeds, ensure the main drives for the operating system(s) get connected to the highest-speed slots.
An older board I had used a different chipset where ports 0 and 1 were higher-rated SATA ports that transferred data at 6 gb per second, while the other four ports transferred data at 3 gb per second. If your board has ports of varying speeds, ensure the main drives for the operating system(s) get connected to the highest-speed slots.
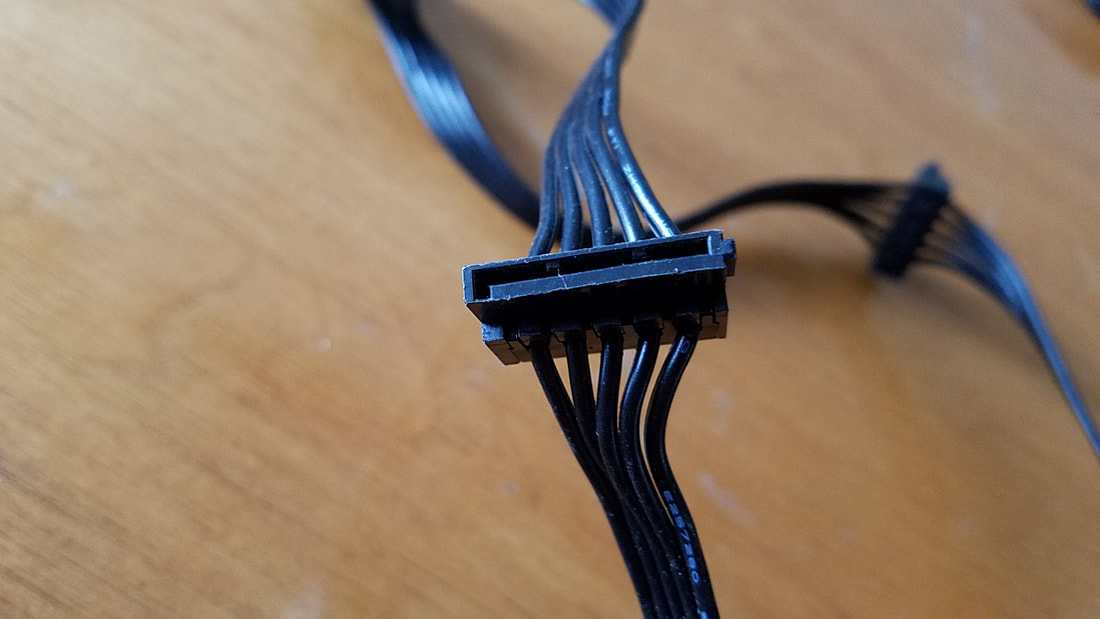
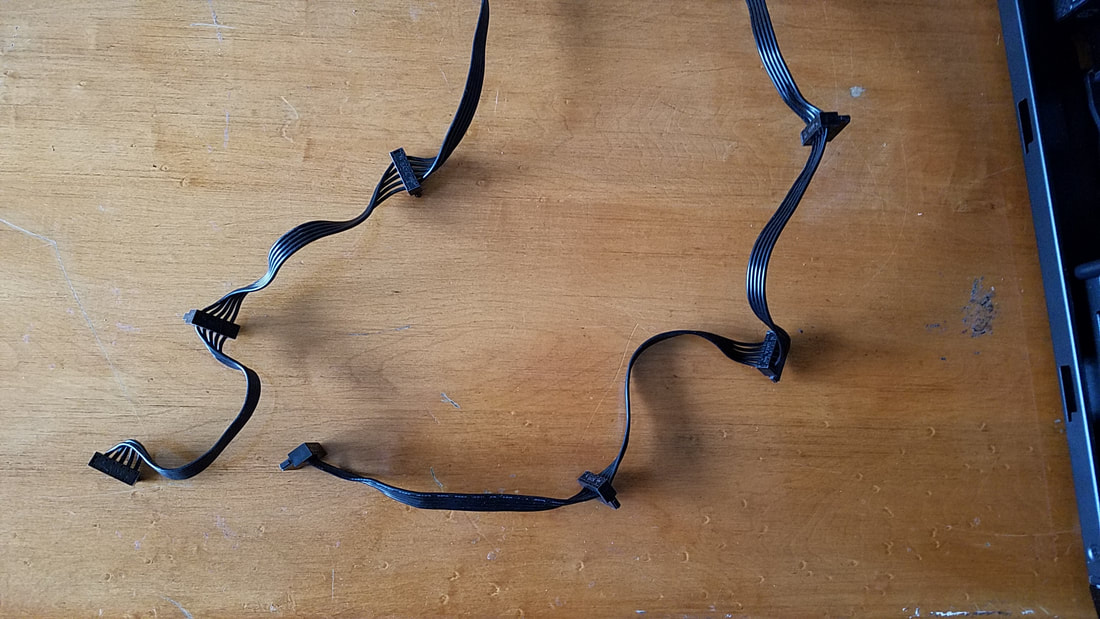
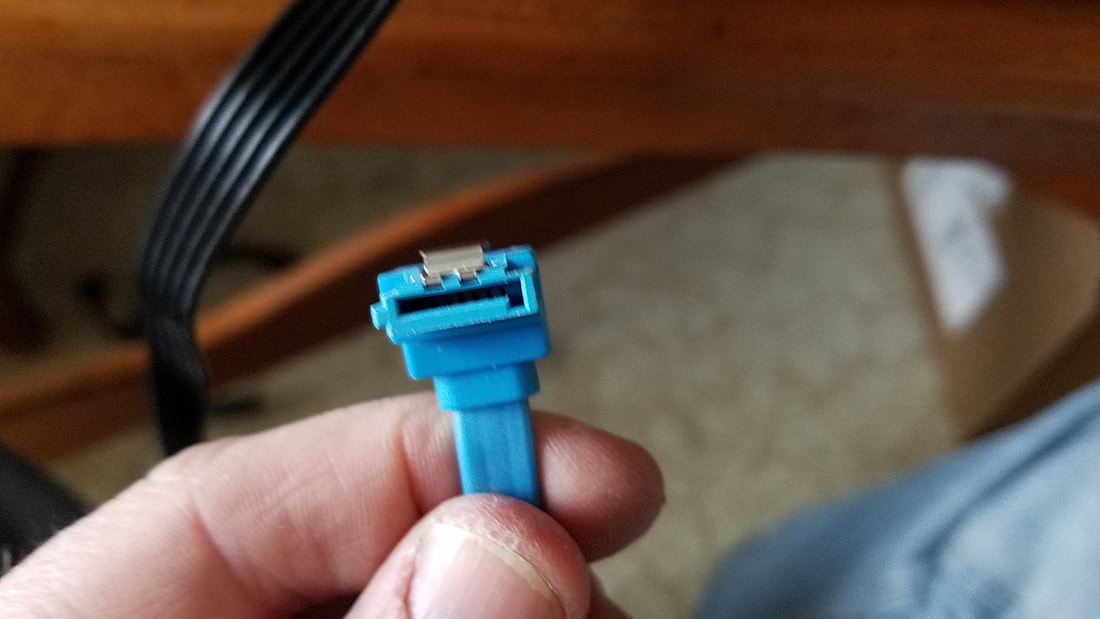
Some motherboards that are new out of the box will come with two or more SATA cables. Otherwise you may have an assortment of cables to choose from.
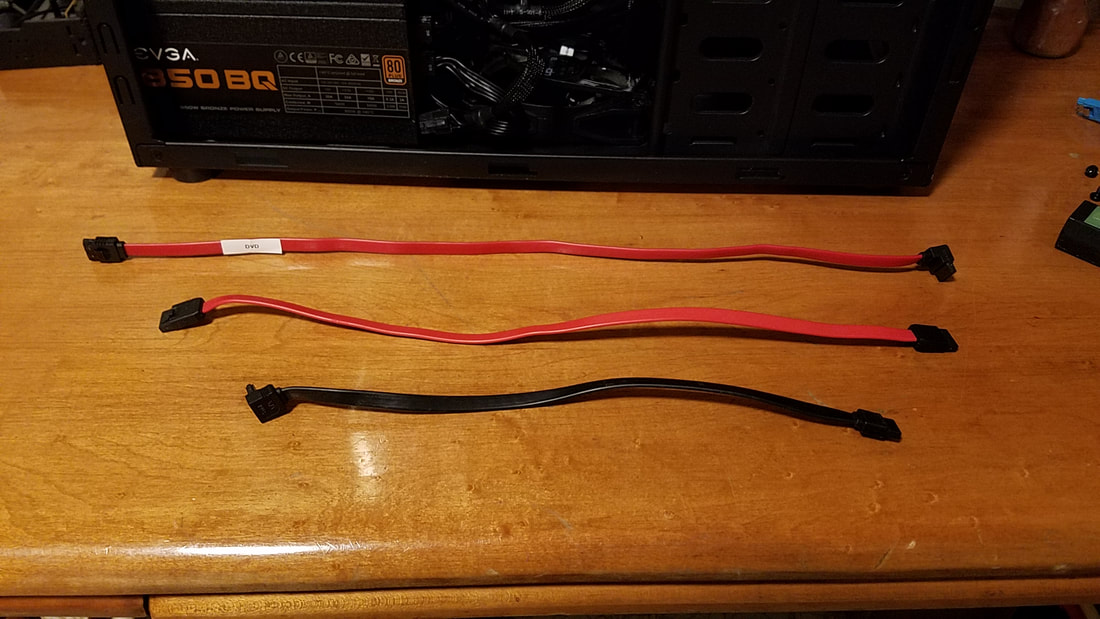
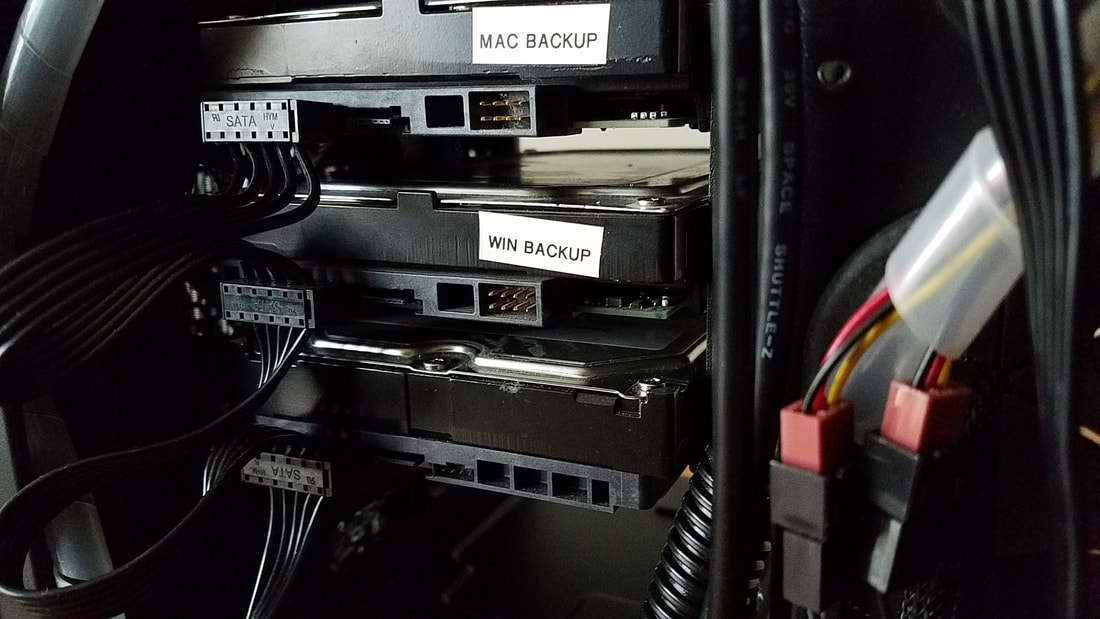
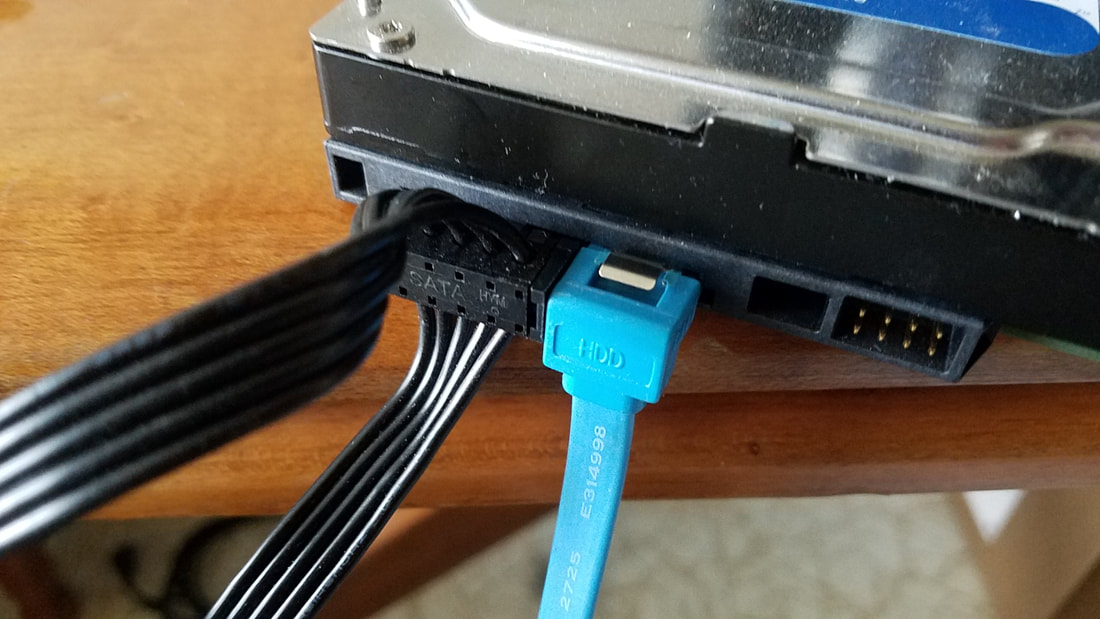
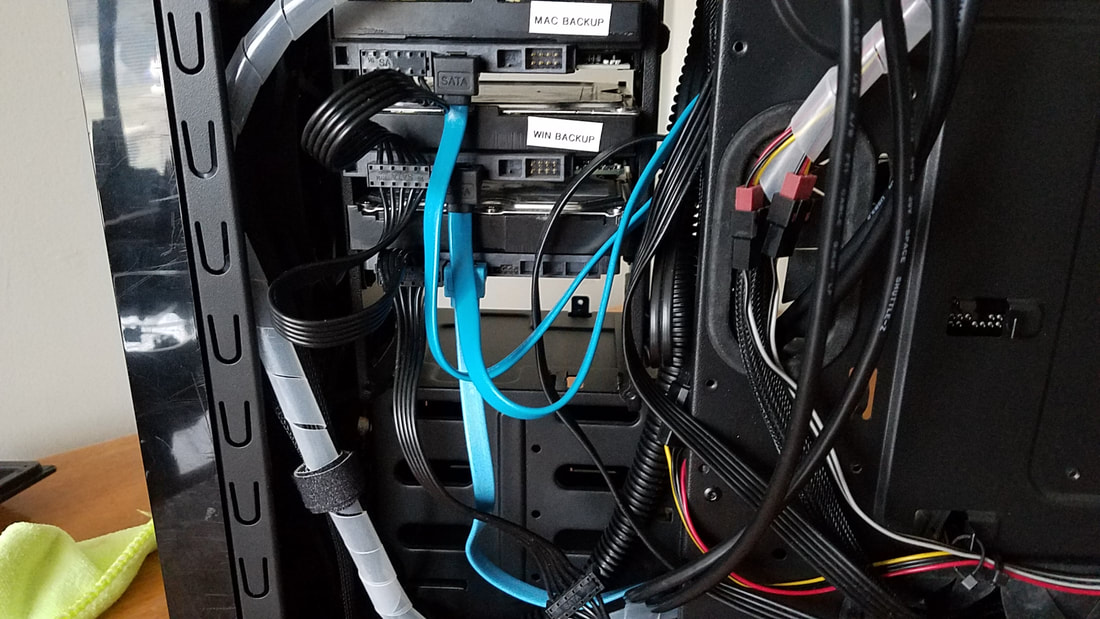
You'll want to find an ideal location to place the hard drive where the SATA data cable will reach. It's unwise to have the cable entirely stretched out where the connector may come out easily, but enough slack for it to reach between the board and the drive. You should be able to bundle it somewhere else in the case or conceal it behind the plate where the motherboard is mounted. Based on the length of your available SATA cables, try putting the hard drive in different locations to see which works best.
HELPFUL HINT: The front fans pull in air from the outside to cool the case. If you put a drive or two closer to the front fans they will run at a cooler temperature than if they had no direct airflow on them. This is more applicable to HDDs than SSDs.
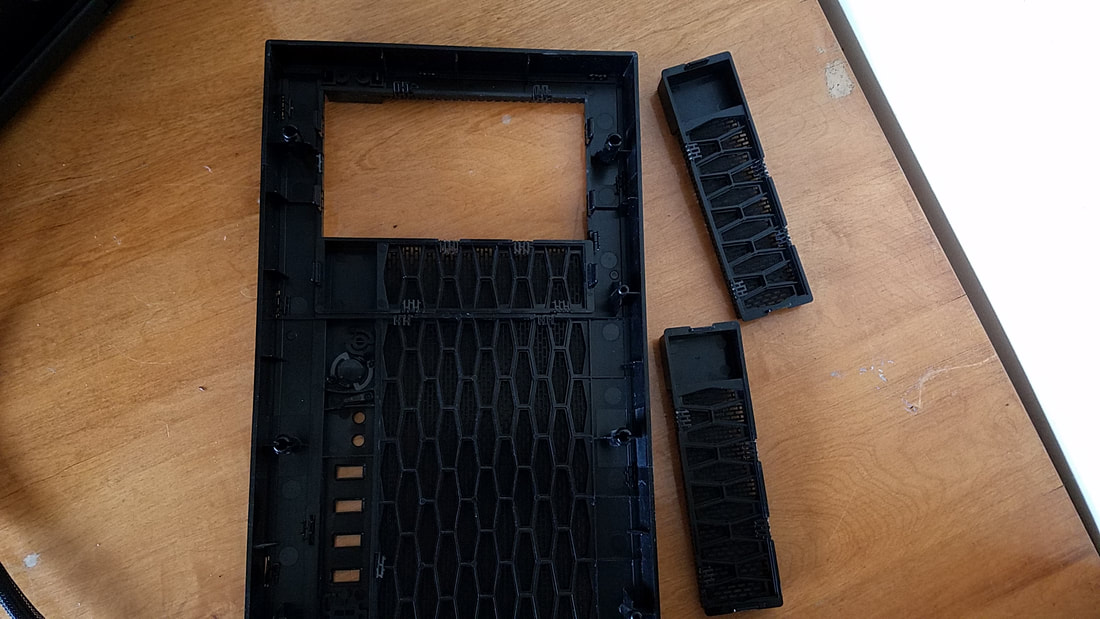
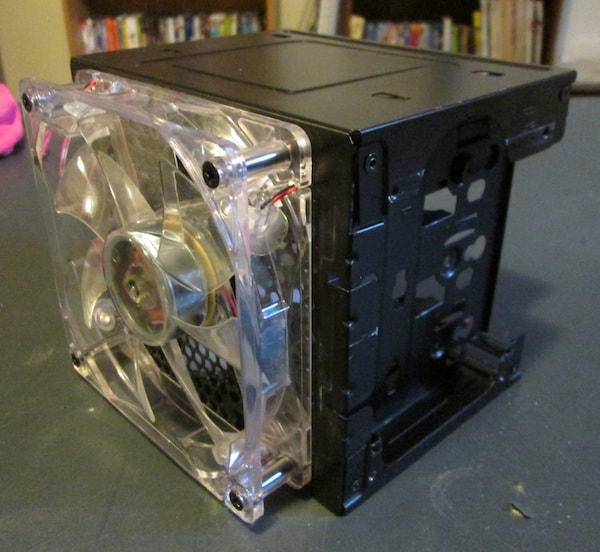
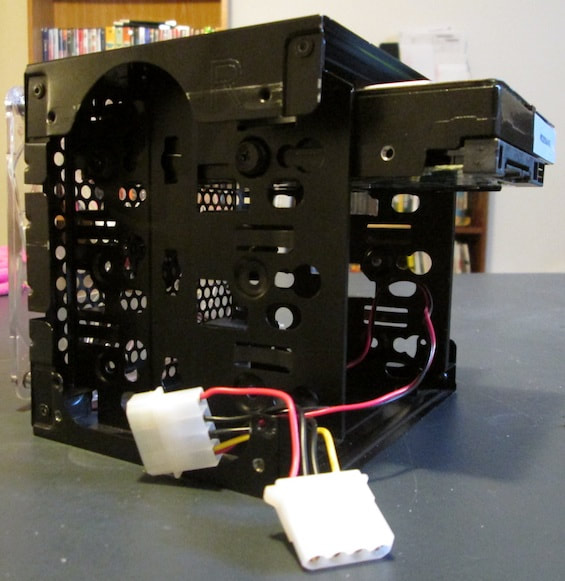
Some cases have a removable cage that will hold multiple drives. The one below is from an older case that includes a front fan:
Some cases have a removable cage that will hold multiple drives. The one below is from an older case that includes a front fan:
|
|
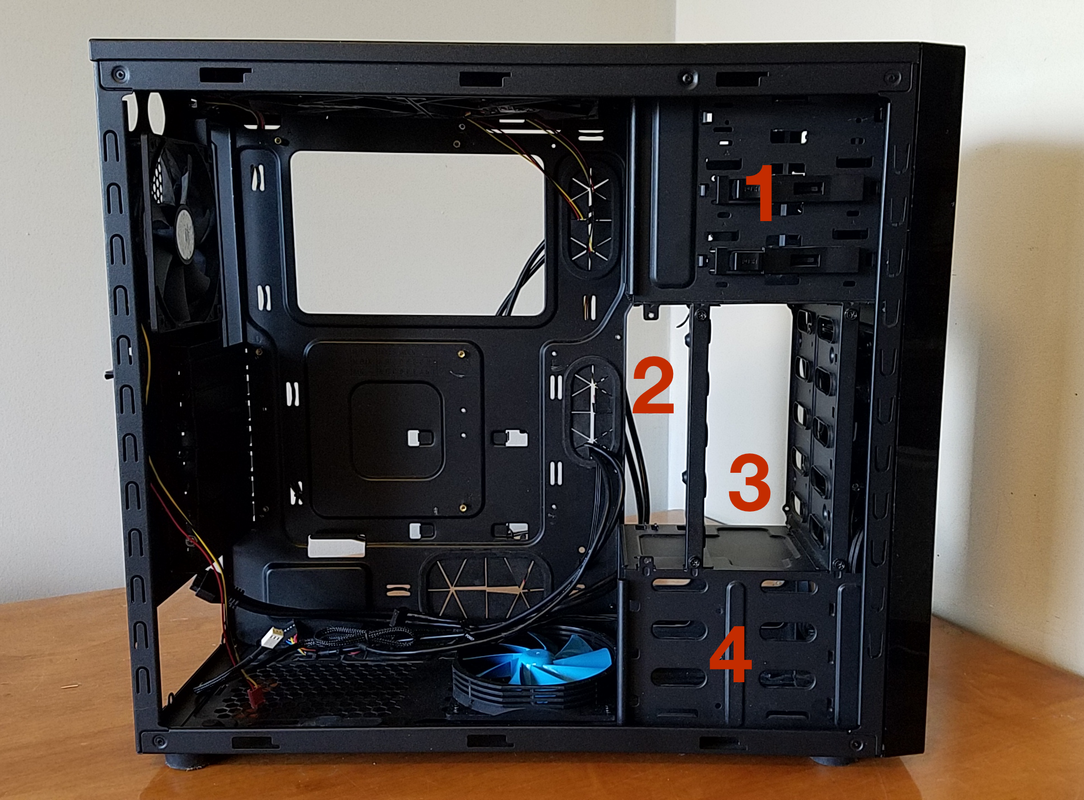
The above photo shows my old case, a Cooler Master N600, with different compartments for the drives.
- The top section holds 5.25" devices such as DVD drives and fan controllers. These slots had quick release mechanisms that lock devices in place rather than require the user to affix it to the case with screws.
- This part was a side bracket for 2.5" drives (depicted in the photo), or 3.5" drives. I have it moved closer to the right side to accommodate 2.5" drives.
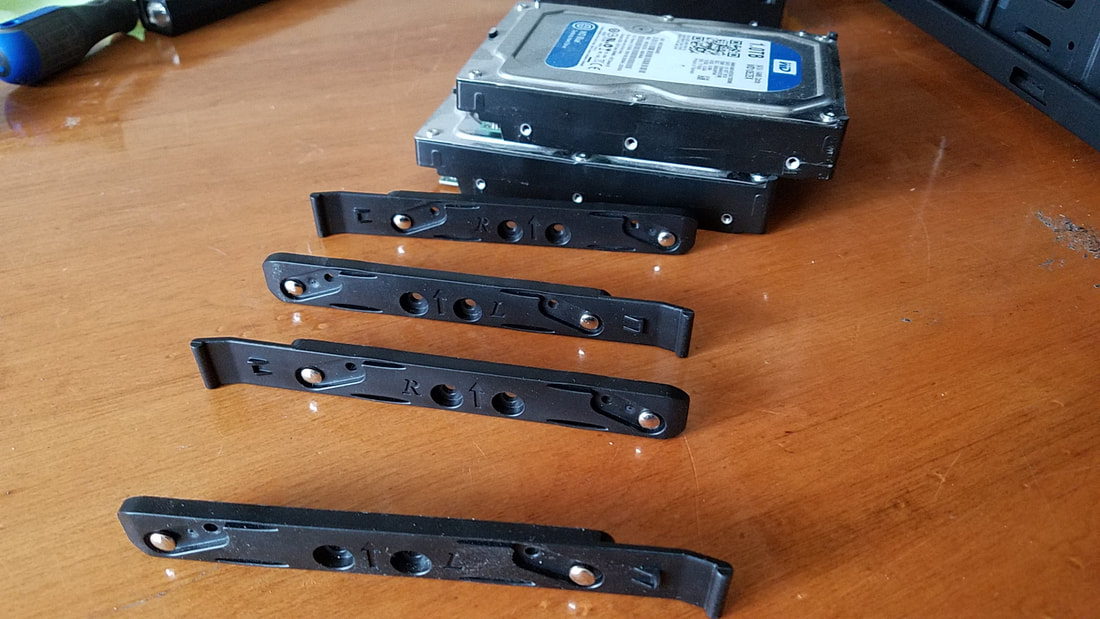
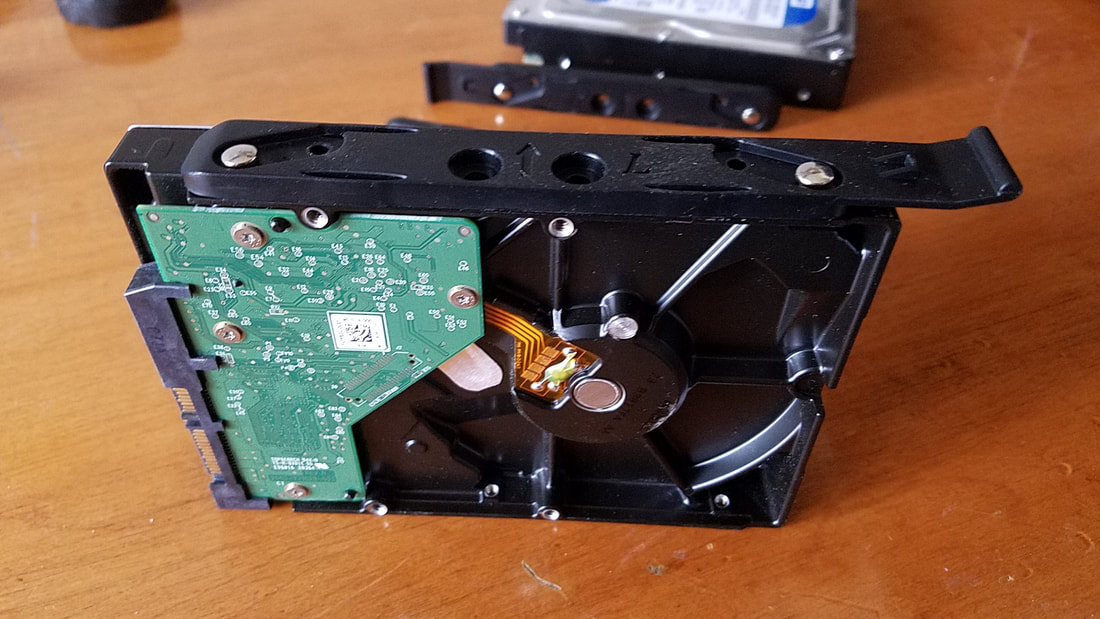
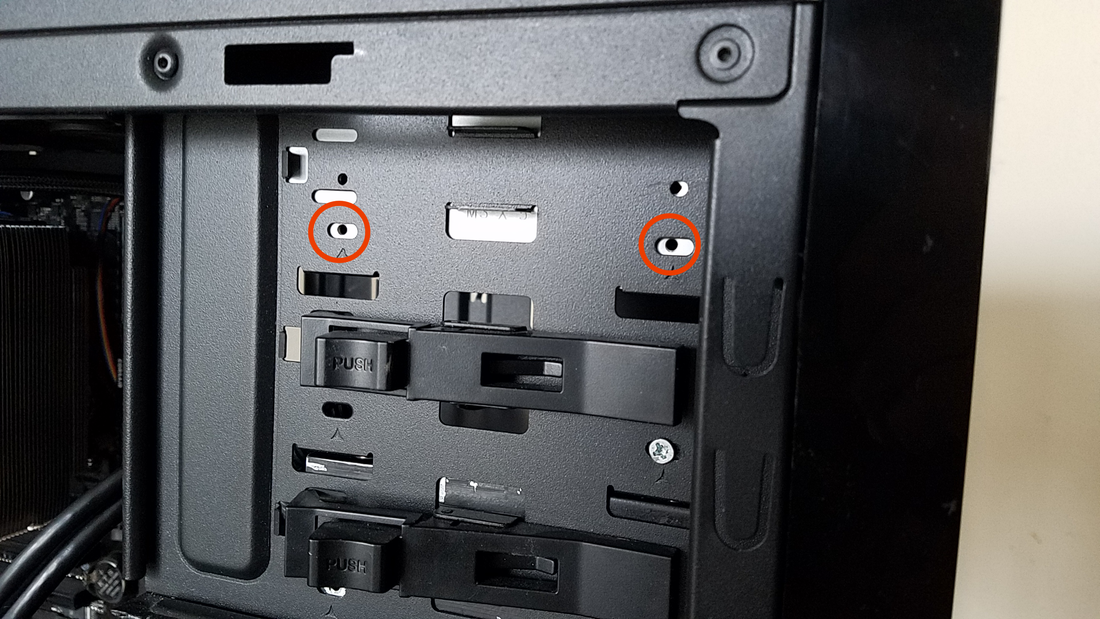
- This section has slots for up to four drives. Each slot uses two plastic panels for either side of the drive so that the drive can be removed quickly after the power and data cables are removed. The drives don't have the rails so that they can be swapped out much faster, but more likely for ease of access for the drives if they need to be removed and inserted.
- The bottom section allows up to four additional 3.5" hard drives to be installed.
Adapters for multiple drives and 3.5"-to-2.5" drives can also be used. Below is a 5.25 cage I used that could hold three 2.5" drives: